 AvioADSB
Raspberry Pi Zero 2 W for ADS-B: What You Need
Thinking of a Raspberry Pi Zero 2 W for ADS-B? See the specs, the USB adapter you need, what FlightAware says, and how to start feeding AvioADSB.
A Raspberry Pi Zero 2 W for ADS-B is a small, low-cost way to run a receiver, but it comes with one catch: it has a single micro USB data port, so you need an adapter to plug in your RTL-SDR dongle. This page lists the specs, the extra parts and the limits, so you can decide before you buy.
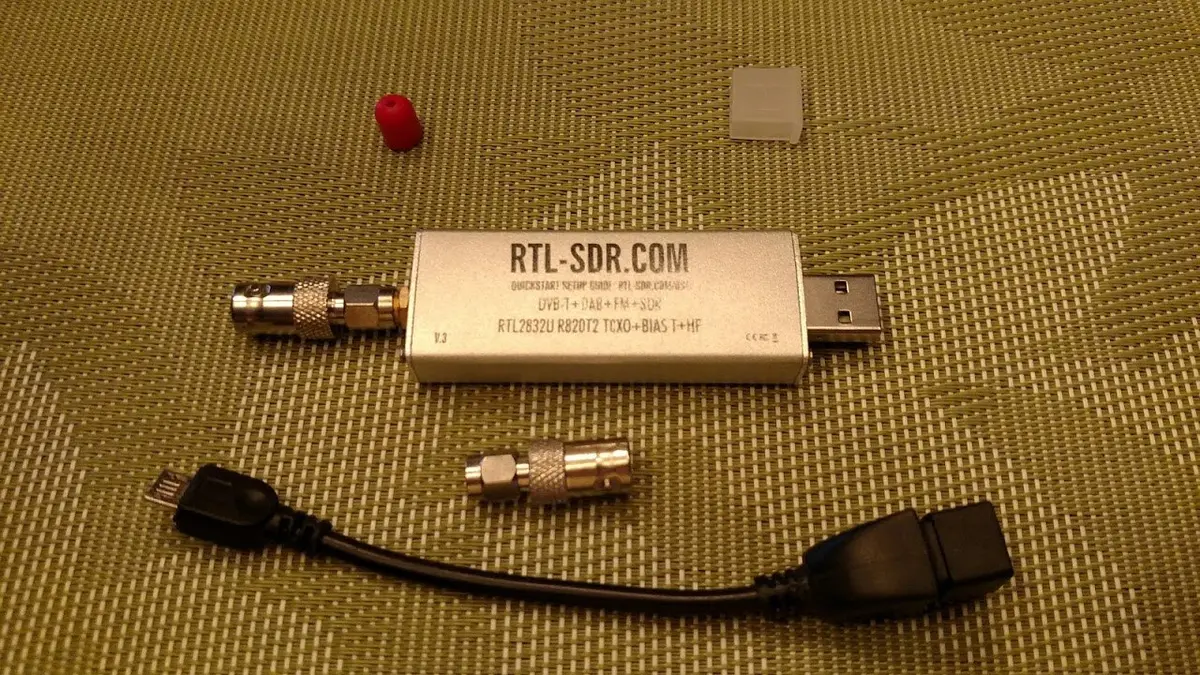
An RTL-SDR dongle. Photo: Joeceads, CC BY-SA 4.0, via Wikimedia Commons.
What the Pi Zero 2 W offers
According to the official Raspberry Pi product page, the board has:
- A 1GHz quad-core 64-bit Arm Cortex-A53 CPU and 512MB of RAM.
- 2.4GHz 802.11 b/g/n wireless LAN (no Ethernet port).
- One micro USB On-The-Go (OTG) port for data, and a separate micro USB port for power.
- A microSD card slot and a 65mm x 30mm footprint.
The board is small enough to sit next to a window or in a weatherproof box near the antenna.
Is it officially supported for ADS-B?
Be careful here. FlightAware's PiAware build page lists "Raspberry Pi 3 / 4 / Zero W Series". It does not name the Zero 2 W, so we cannot promise it works with PiAware images. A different route is a plain Raspberry Pi OS Lite install with readsb, which is the setup in our readsb install guide. Treat the Zero 2 W as a budget experiment, and keep a Pi 3 or 4 in mind if you want the safe choice. Our build guide covers that route.
What you need besides the board
- A micro USB OTG adapter (micro USB to USB-A) for the dongle. This is the extra part most beginners forget.
- An RTL-SDR dongle. See the dongle comparison.
- A 1090 MHz antenna with a clear view of the sky. Placement matters more than the computer, see antenna placement.
- A microSD card and a power supply for the board's power port. FlightAware recommends a 5.1 V 2.5 A supply and a card of 8 GB or larger for its Pi builds, so use that as a sensible floor.
Setting it up
- Flash Raspberry Pi OS Lite with the Raspberry Pi Imager, and configure Wi-Fi and SSH there. The Zero 2 W has no Ethernet port, so Wi-Fi is how it reaches the network. PiAware supports unencrypted and WPA/WPA2 networks, not WEP.
- Connect the dongle through the OTG adapter and power the board.
- SSH in and install a decoder. Follow the readsb install guide, then add a live map with tar1090.
- Check that aircraft appear. If numbers are low, use the low message rate checklist.
From a tiny board to a shared network
Once your map shows planes, feeding takes a few minutes and works next to any network you already feed. The multi-network guide shows how to share one receiver.
Ready to connect your receiver?
Connect your receiver in a few minutes: create a free account, add a receiver and run the feeder script. Still choosing parts? Start with the AvioADSB hardware list.